CALIBRATION:
The gauge includes a plate and a sheet of a given thickness to verify correct measurement and for calibration purposes.The gauge can be calibrated at all times.The equipment may be calibrated easily, in only a few steps.Because of this, the equipment always functions with the same precision, unlike other gauges, and is the only gauge which yields dependable results.
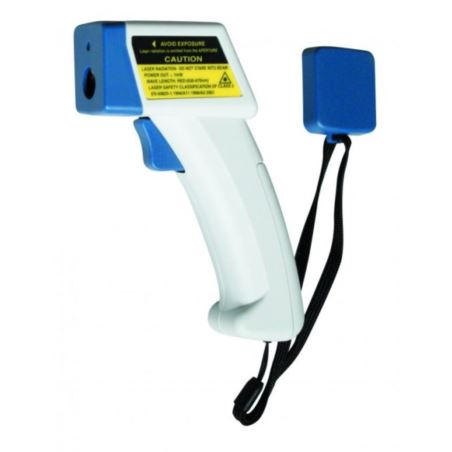
1. Prepare coating plate and template (A-EG0102 includes: one metal plate and template 4 Mill’s/104 uM).
2. Choose your measurment unit (uM or Mill’s) – better for calibration is Mill’s.
3. Press the sensing tip to the foil. Hold trigger and wait for reading. When reading is different that in template then start calibration. Hold “CAL” key for 4 seconds. LCD will blink “2-1” (pic. 3).
4. Press the sensing tip to the foil. Hold the trigger and wait for reading to appear. Use (pic. 1B and 1C) key to adjust reading to 0. Press “CAL” key to confirm. LCD will blink “2-2”.
5. Press the sensing tip to the standard coating plate on top of the foil.. Hold the trigger and wait for reading to appear. Use (pic. 1B and 1C) key to adjust reading until it matches the standard thickness 4.0 Mill’s/104 uM. Press “CAL” (pic. 1A) key to confirm. LCD will blink “2-3” (pic.6). Repeat 5th point.
6. Hold “CAL” (pic. 1A) key to save and exit calibration.
7. If the meters turns off automatically means that meters was correctly calibrated.